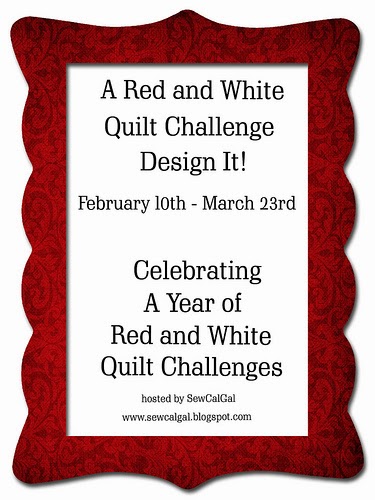
The challenge is issued in 4 phases. This entry is for phase 2, the design phase. (I don't own a red and white quilt, so I wasn't able to enter phase 1, which was to show red and white quilts made before 2014.)
This challenge started with a blog hop with tutorials on how to use EQ7 to do some quilt design. I have EQ7, but hadn't used it much except for recoloring or rearranging blocks (think electronic design wall), and hadn't really drawn blocks from scratch. I followed the tutorials and got hooked! I've designed so many quilts in the last couple of weeks, it's crazy! The program is just so much fun to play with! I drew all these blocks from scratch for practice, even though the traditional blocks are probably in the program. It was more fun that way.
I'm choosing my favorite four designs to share here. The program was so much fun, I actually saved 31 different blocks and 22 quilts in my sketchbook for this project! I started my design exploration by playing with straight line components that give the illusion of a curve when put together. My first two designs are fairly traditional. I'm printing the name I gave the quilt pattern, the finished size, and the yardage requirements which EQ7 provides me as requested by Sew Cal Gal.
***Note on yardage requirements: because I was learning and didn't know how this would show up, I have several different red and white fabrics in each quilt. It is very difficult to differentiate them in the blog, so I would have to go back to the EQ7 file to make sure which is which, or if I wanted just one white fabric and one red fabric, I could total the various yardages and buy that.
Quilt #1
 |
| Starry Scarlet Netting 73'x73" |

This is a combination of a star block and a snowball block. I love the illusion of a curve here with the red stars and the large white diamond shapes provide plenty of open space for some fancy quilting.
Quilt #2
 |
| Crimson Constellation 73"x73" |

In this quilt, I replaced the snowball block with a monkey wrench block with a divided center. Again, this has a nice suggestion of curves, though it's made up of straight line piecing. In my mind, I see 4 pointed white stars with red centers in a white circle connected by the red 8 pointed stars with white centers. Not so much room for quilting, but nice, I think.
The next two entries are a bit less traditional. I found some of the blocks by applying some of the "Serendipity" functions to my blocks, then adding or removing some seam lines and rotating blocks as needed. All really easy to do in EQ7, even for a beginner at the program like me. The results were sometimes very complicated. These were two of my favorites of these type of quilts.
Quilt #3
 |
| Scarlet Starburst 73"x73" |

I love this quilt, and I think it would be fun to paper piece.. It looks like an explosion of stars! It seems much too complicated to rotary cut or use templates and piece conventionally. Luckily, EQ7 allows for paper piecing and I can print the necessary foundations directly from the program! I'm printing the yardage requirements the program gave me, but I would probably buy more fabric than this - just to be sure I have enough to cover the different pieces. Paper piecing does seem to use more fabric - all that trimming. Again, I like that there are some nice open areas for fancy FMQ here.
Quilt #4
 |
| Crimson Crosses 73"x73" |

This pattern has the look of a royal insignia or jewel to me. There are nice open areas for FMQ and a strong graphic statement that I see as crosses, but others might see as flowers.
This was a really fun and exciting challenge, and I don't really feel like I'm finished, but the more I play, the harder it gets to choose favorites... so the longer the post becomes. I decided to post and link up now, but the challenge doesn't end until March 23rd, so why not give this one a try? At least check out the other entries.They are great! Enjoy!
Hi...beautiful quilts. I love the 54-40 block and have a myriad of quilts in my EQ 7...more than I could ever make. Could I just ask you...how did you copy the yardage requirements from the program into your blog? maybe it is something simple I am overlooking?
ReplyDeleteHi Karin! Well, it wasn't as simple as just copying the yardage. Here's what I did... I printed the yardage to pdf instead of a printer. Then I did a PRTSC (Print Screen - it's a key on most PC keyboards) which puts a copy of the screen on the clipboard. I opened Photoshop Elements photo editor and chose New from Clipboard from the File menu. I then cropped the screenshot to show just the yardage and saved it as a jpg. Then I added the jpeg to my blog... I guess that seems like a lot of work, but I work with computer graphics a lot at work, so I didn't think twice about it until you asked. Now that I realize all the steps, it would have been much easier (and faster) just to print the yardage out, then type it into the blog. It just didn't occur to me to do it that way! Isn't tech wonderful?! Lol...
DeleteThis comment has been removed by the author.
ReplyDeleteGreat post Kearstie! I like the last quilt the best! Playing with EQ7 is so much fun...I wish I had more time! I'd need a couple of life times to actually create most of the virtual quilts that I have in my sketchbooks. :)
ReplyDeleteI use the snipping tool to create a jpeg when I need to. Love that tool!
Thanks for the kind words. I'm pretty new to EQ7; I'll look for the snipping tool, sounds like something I could use. Wish I could take a class in using the program. Sew Cal Gal's tutorials and guest tutorials have really helped me get started.
ReplyDeleteI favor quilt 3, but they are all lovely.
ReplyDeleteThis comment has been removed by the author.
ReplyDelete